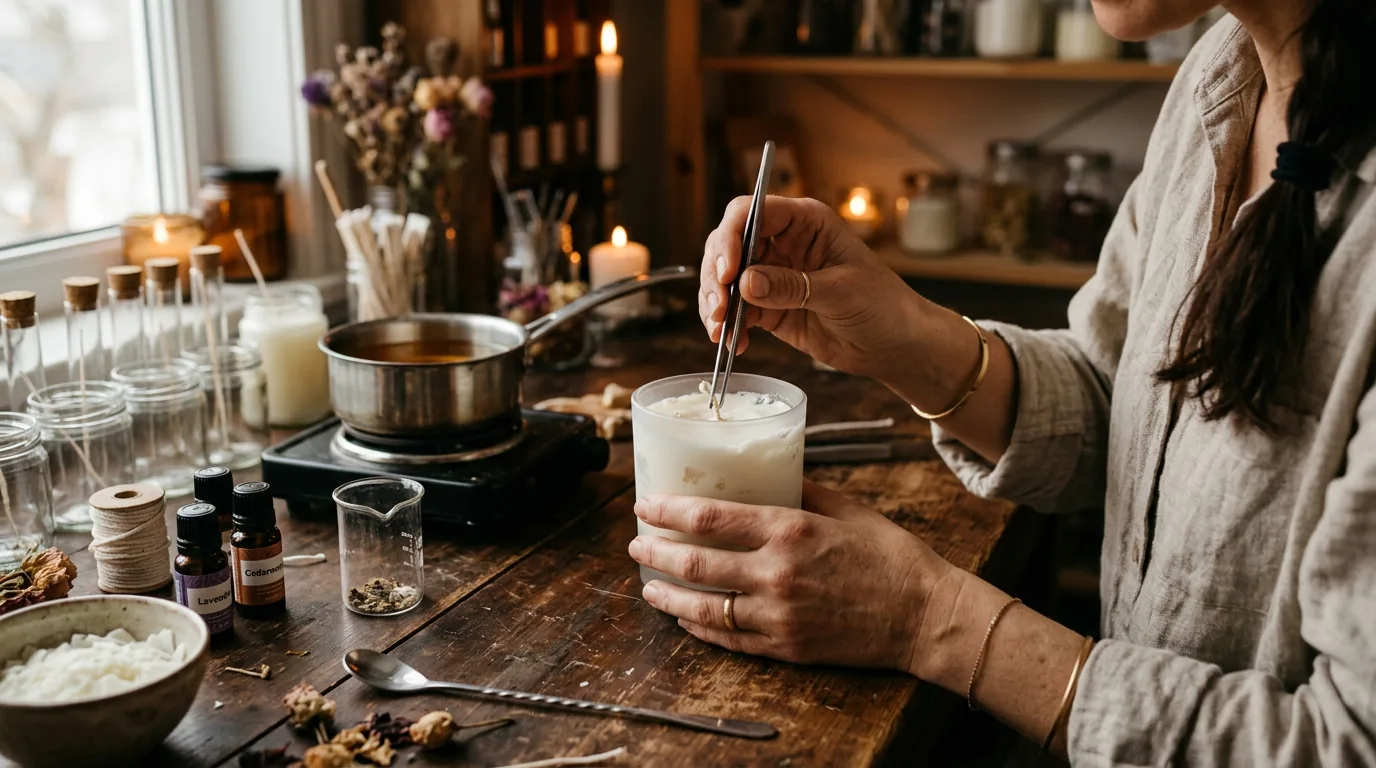
At first glance, candle making seems like simple home crafting. Melt the wax, add fragrance, pour into a jar, and done. But when you start creating regularly, you soon discover that candles are full of small details with a big impact on the outcome. A slight deviation in temperature, a poorly chosen wick, or cooling that’s too rapid, and the candle suddenly doesn’t look or perform as you imagined.
But that’s no reason for frustration. On the contrary. Most problems in candle making are very common and happen to experienced makers too. The only difference is that with time you learn what the individual mistakes mean and how to respond. That’s precisely why it’s good to know the most frequent issues in advance. It will save you material, time, and unnecessary doubts about whether you have “the talent” for this hobby. In reality, it’s mainly about observation and gradual fine-tuning.
Mistake number 1: Wrong wick
Of all beginner mistakes, the wick is by far the most common one. When it’s too small, the candle tunnels, the wax doesn’t melt to the edges, and the flame looks weak. When it’s too large, the flame tends to be big, the candle overheats, smokes, and may produce soot. Many beginners are inclined to look for the problem in the wax or fragrance, but very often the real cause is right here.

You never choose a wick in isolation. It always depends on the vessel diameter, wax type, and amount of fragrance. That’s why it’s not enough to say “this wick worked last time, I’ll use it again.” It may have worked with a different jar or a different recipe. With candles, everything is interconnected.
The solution lies mainly in testing. If after several hours the candle hasn’t created a sufficiently wide wax pool, you probably need a slightly larger wick. If the flame is high, the vessel is overheating, or soot appears, try a smaller wick. Before each lighting, also trim the wick to approximately 0,5 cm, as length plays a big role too.
Mistake number 2: Too much fragrance
One of the most logical yet treacherous mistakes. You think: I want the candle to smell beautifully, so I’ll add more oil. But wax has its capacity, and when you exceed it, it doesn’t automatically smell better. On the contrary. The fragrance may separate, greasy droplets can appear on the surface, the candle will burn poorly, and the whole recipe can fall apart.
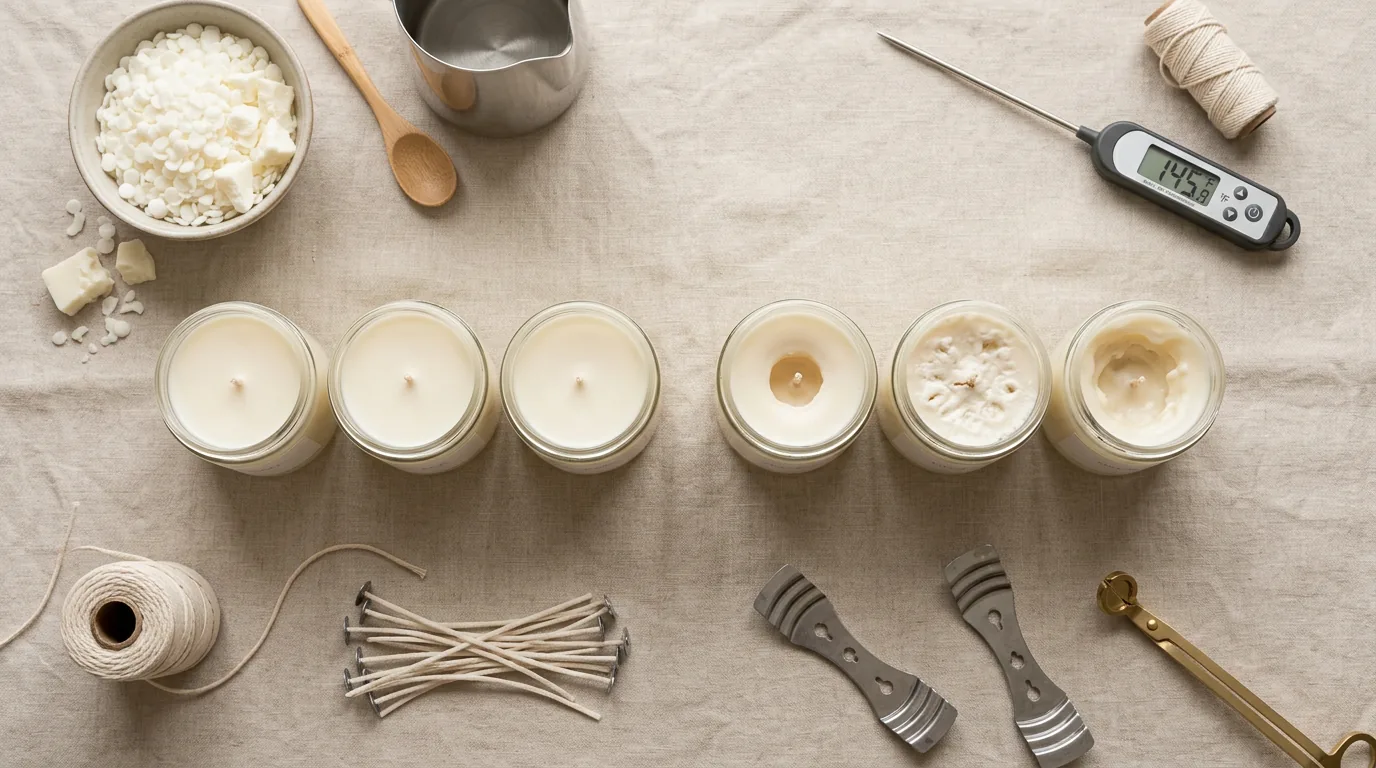
It’s very important to respect the recommended fragrance load of your specific wax. If, for example, the manufacturer states a range of 6% to 10%, that doesn’t mean you must use 10% every time. With some fragrances, a beautiful result comes already at 7% or 8%. Especially with bold spicy, sweet, or woody tones, a lower percentage may be entirely sufficient.
The solution is to work with scales and keep notes. Precise dosing is the foundation. When you know the wax weight, fragrance percentage, and the candle’s resulting behaviour, it’s much easier to figure out what works. Estimating “by eye” is the fastest route to unreadable results in fragrance dosing.
Mistake number 3: Pouring at the wrong temperature
Many problems with a candle’s appearance have nothing to do with your skill but with the pouring temperature. If the wax is too hot, it may create a sunken centre, an uneven surface, or overly strong adhesion to the glass with unsightly marks after setting. If it’s too cool, it may set unevenly, create lumps, layers, or an unattractive texture.
Every wax has its recommended range, and this is where having a thermometer really pays off. Temperature is not a detail for perfectionists but a practical tool that greatly influences the result. A lot of beginner disappointment would never have occurred if the wax had been poured not “however it turned out” but at a slightly more precise moment.
The solution is simple: follow the manufacturer’s recommendation and don’t unnecessarily complicate things with your first tests. When you have the same wax, same vessel, and same fragrance, you can easily spot how a change in pouring temperature shows up. And that’s the path to a lovely, smooth surface.
Mistake number 4: Lighting the finished candle too soon
This is a mistake that arises entirely understandably. When you’ve just made a beautiful candle, you want to try it straight away. But especially with soy and other natural waxes, the candle needs time to cure. During this period, the fragrance bonds better with the wax, and burning performance tends to be noticeably improved.
When you light the candle too early, you may feel the scent is weak or that it behaves differently than expected. In reality, the problem may not be in the recipe at all – it just needed time. This applies especially when you want to evaluate the hot throw, meaning the scent while burning.
The solution is a simple rule: let the candle rest for several days, ideally according to the wax type. For many soy candles, it’s reasonable to wait at least roughly a week. It’s not always necessary to wait equally long, but patience with candles very often pays off.
Mistake number 5: Unsuitable conditions during cooling
After pouring, a candle may look almost done, but at this point it’s still very sensitive. If you leave it to set in a draught, in a room that’s too cold, or in an unstable spot, both cosmetic and functional problems can appear. An uneven surface, cracks, a sinkhole around the wick, or unattractive glass frosting often don’t arise because of the wax itself but because of the conditions in which it set.
A home environment is never as stable as a laboratory, and that’s normal. All the more reason, though, to choose a calm spot without draughts, sudden ventilation, and significant temperature swings for cooling. After pouring, it’s best simply to leave the candle be. Don’t move it, don’t shift it, and don’t try to speed up the process.
The solution is simple discipline. Prepare a spot in advance where the candle can remain undisturbed for several hours or overnight. It’s a small habit that makes a big difference.
How to tell a mistake isn’t a disaster
One of the most important things worth remembering about candle making is this: not every imperfection means a failed candle. Especially with natural waxes, it’s perfectly normal that they aren’t “plastic-perfect” visually. Gentle frosting, a slightly rustic surface, or a minor cosmetic variation are not reasons to bin the whole product.
Experienced makers learn over time to distinguish between a cosmetic variation and a real technical problem. Cosmetics are a matter of appearance. A technical problem affects safety, burning, or scent performance. And that’s where it’s best to focus your energy.
Why you should record every batch
If you want to make fewer mistakes, there’s no better helper than an ordinary notebook. Write down:
- What wax you used.
- What the fragrance percentage was.
- When you added the fragrance.
- At what temperature you poured.
- What wick you chose.
- How the candle looked after setting.
- How it performed during the first burn test.
Once you get into this system, your mistakes will start forming patterns. Suddenly you’ll see that a certain wax prefers a lower pouring temperature or that a particular fragrance needs a stronger wick. Without notes, finding these connections is much harder.
Mistakes as part of the craft
In the world of home candle making, you don’t improve by never making a mistake. You improve by starting to understand why something went wrong. And that’s what makes candle making a beautiful hobby. It’s not just about pouring wax into a jar but about the fine-tuning of details that ultimately create atmosphere, fragrance, and function.
Every mistake is really a message. The candle is telling you what needs to change. And the sooner you learn to read these signals, the less small failures will stress you out.
6. Essential Equipment for Every Beginner Maker
When you start exploring candle making, it’s easy to get the impression you need a professional workshop, shelves full of tools, and a shopping list running into hundreds of pounds. A few minutes online and you feel that without special pouring jugs, moulds, organisers, heat guns, and dozens of accessories, there’s no point in even starting. In reality, it’s much simpler. For your first beautiful candles, a few well-chosen basics are all you need.
The most important thing is not the quantity of equipment but its practicality and reliability. One accurate scale, one good thermometer, and one vessel you find comfortable to work with make far more sense than ten unnecessary items. When you choose your basic tools wisely, you save money, frustration, and space in your kitchen or craft corner.
Why it pays to start simply
One of the beautiful things about home candle making is that it can be very accessible. There’s no need to build a small factory at the start. Many beginners find that when they buy too much equipment at once, it paradoxically overwhelms them. They don’t know what to use first, what’s truly important, and what is just a nice extra that might come in handy “some day.”
A simpler start has one great advantage: you learn better. When you work with a limited number of tools and materials, it’s easier to understand what exactly affects the result. And for a beginner, that’s far more valuable than a drawer full of accessories.
Digital scales: a small helper with enormous significance
If there is one thing you shouldn’t skimp on when making candles, it’s digital scales. Precise weighing of wax and fragrance is an absolute foundation. Without it, you won’t be able to create repeatable results and later won’t be able to calculate costs sensibly either.
Many people are tempted at the start to estimate volume using cups or measuring jugs, but that doesn’t work well with candles. Wax, fragrance, and other components need to be measured by weight. Scales will help you not only during production but also when comparing individual recipes. It’s thanks to them that you’ll recognise what went well and what you’d like to adjust next time.
Thermometer: precision that makes a difference
Right alongside scales sits the thermometer. It may not seem as attractive as pretty vessels or fragrances, but from a practical standpoint, it’s immensely important. It helps you monitor the melting temperature, the right moment to add fragrance, and the best time to pour.
A surprising number of problems in candle making are caused by working “by feel.” The wax was probably hot enough. I can probably pour now. But small differences in temperature often show up in the candle’s appearance and performance. That’s why the thermometer is one of those unassuming tools that very quickly save beginners a lot of disappointment.
Wax melting vessel
For melting wax, you’ll need a vessel that’s easy to handle and also easy to pour from. It can be a special melting jug or a simpler metal container suitable for a double boiler. The important thing is that it’s heat-resistant, stable, and easy to clean.
For an absolute beginner, there’s no need to buy professional equipment, but it’s worth thinking about comfort. If wax spills all over the worktop when you pour, or the vessel is awkward to handle, it will needlessly put you off. A good pouring vessel is perhaps an ordinary thing, but you’ll quickly grow fond of it.
Double-boiler pot
Wax should be melted safely, ideally in a double boiler. That means you also need an ordinary pot in which to heat the water. It doesn’t need to be new or special, but it’s a good idea to set aside one specific pot for crafting so your tools don’t mix with everyday cooking.
A double boiler is one of the safest and most comfortable methods for home production. The wax heats gradually, is easier to control, and the risk of overheating is reduced.
Candle vessels
No candle can be made without the right vessels, of course. For starters, it’s sensible to choose one or two proven types of jars and stick with them for a while. If you keep switching sizes, shapes, and diameters, testing wicks and wax behaviour becomes much harder.
An ideal beginner vessel should be:
- Heat-resistant.
- Stable.
- Simple in shape.
- Readily available in the future if you want to use it repeatedly.
Repeatability is key. Once you find a jar that works and that you like, you’ve won. You can build further tests and the look of a whole candle range on it.
Wicks and accessories for securing them
Another essential part of the kit is, of course, wicks. It’s also worth buying adhesive dots or glue for fixing, and simple holders for centring. These small items cost little but make work significantly easier.
Anyone who has ever tried to keep a wick centred without tools knows how easily it can shift during pouring. And yet its position plays a major role in how the candle will burn later.
Spatula or spoon for stirring
A silicone spatula, metal spoon, or other sturdy tool that cleans easily works well for stirring wax and fragrance. What matters is that it’s comfortable to use and allows you to mix the blend properly. Silicone tends to be very practical because wax doesn’t stick to it as much and maintenance is simple.
Often it’s the simple tools that determine how pleasant the whole production process is. When everything is hard to clean, sticks, and slips, the energy from creating disappears fast.
Workspace mat and surface protection
Even though it sounds like a detail, a workspace mat or surface protector can really enhance the whole process. Wax occasionally drips, fragrance can leave marks, and a hot vessel needs a safe spot. There’s no need to buy anything special, but it’s pleasant to have a clearly designated area where you can work without stress.
Home candle making is much more relaxed once you don’t have to check after every step whether you’ve dripped something on the kitchen counter or dining table.
What’s useful but not essential right away
Besides basic equipment, there are a number of things that can be very useful but don’t need to be bought immediately:
- A heat gun for surface touch-ups.
- Special pouring jugs of various sizes.
- Moulds for decorative candles.
- Labelling tools.
- Organisers for fragrances and wicks.
- Larger stocks of multiple wax types.
These make sense once you know that candle making has truly hooked you and you want to expand. For starting out, the basics that let you learn without unnecessary investment are more than enough.
The most common equipment-buying mistake
One of the most frequent mistakes is buying everything at once based on photos or first-flush excitement. You can easily end up with tools you don’t need at all, while missing the things that really matter. A much better strategy is to begin with one type of candle – for example, a soy candle in glass – and assemble a minimalist kit accordingly.
Once you gain confidence, you’ll very quickly recognise what would genuinely make your work easier. And that’s when expanding your equipment makes sense.
A basic kit that really is enough
If someone asked me for the very simplest starter kit, it would look something like this:
- Digital scales.
- Thermometer.
- Wax melting vessel.
- Double-boiler pot.
- One type of candle jar.
- Soy wax for containers.
- Suitable wicks.
- Adhesive dots and wick holders.
- One or two proven fragrances.
- Silicone spatula.
- Workspace mat.
With a kit like this, you can already make very attractive candles, learn the whole process, and discover what you enjoy most about this hobby.
When equipment becomes a joy, not a burden
The beauty of well-chosen equipment is that it gives you a sense of calm. You don’t have to improvise anything, everything has its place, and production is more pleasant as a result. That’s especially important in a home setting, where we want to create with joy, not stress.
And perhaps that’s the best advice for the start: don’t buy yourself a workshop – buy yourself a comfortable beginning. Equipment should serve you, not the other way round.