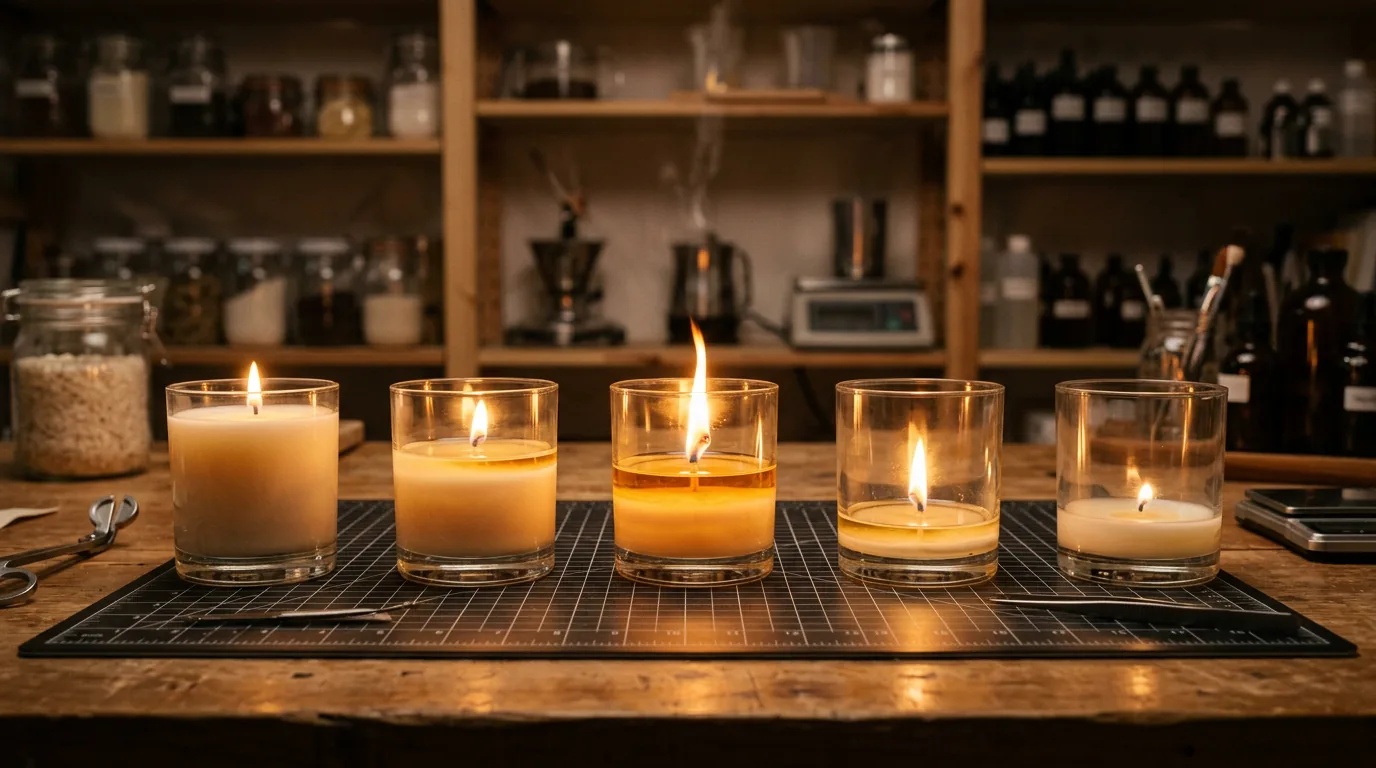
A candle can look gorgeous after pouring. It has a smooth surface, beautiful colour, a gentle scent, and in an elegant jar it looks like a ready-made product from a boutique. But this is exactly where many beginners make one critical mistake: they settle for the fact that the candle looks good. In reality, true quality only reveals itself the moment you light it. And that is precisely why the burn test is one of the most important steps in the entire process.
A burn test shows whether the wax, fragrance, wick, and vessel truly work well together. In other words, things you can’t tell by eye once the candle has set. A candle can be beautiful yet still tunnel, smoke, overheat the vessel, or smell much weaker than expected. A burn test is not an unnecessary technical complication. It is a way to truly get to know the candle and understand what in your recipe works and what needs fine-tuning.
What a burn test actually is
A burn test is a trial burning of the candle carried out deliberately and systematically. Its aim is not to simply enjoy the candle but to observe its behaviour. You watch the flame size, the width of the melted wax, the wick’s stability, the fragrance strength while burning, and the heating of the vessel. This tells you whether the candle is safe, functional, and pleasant to use.
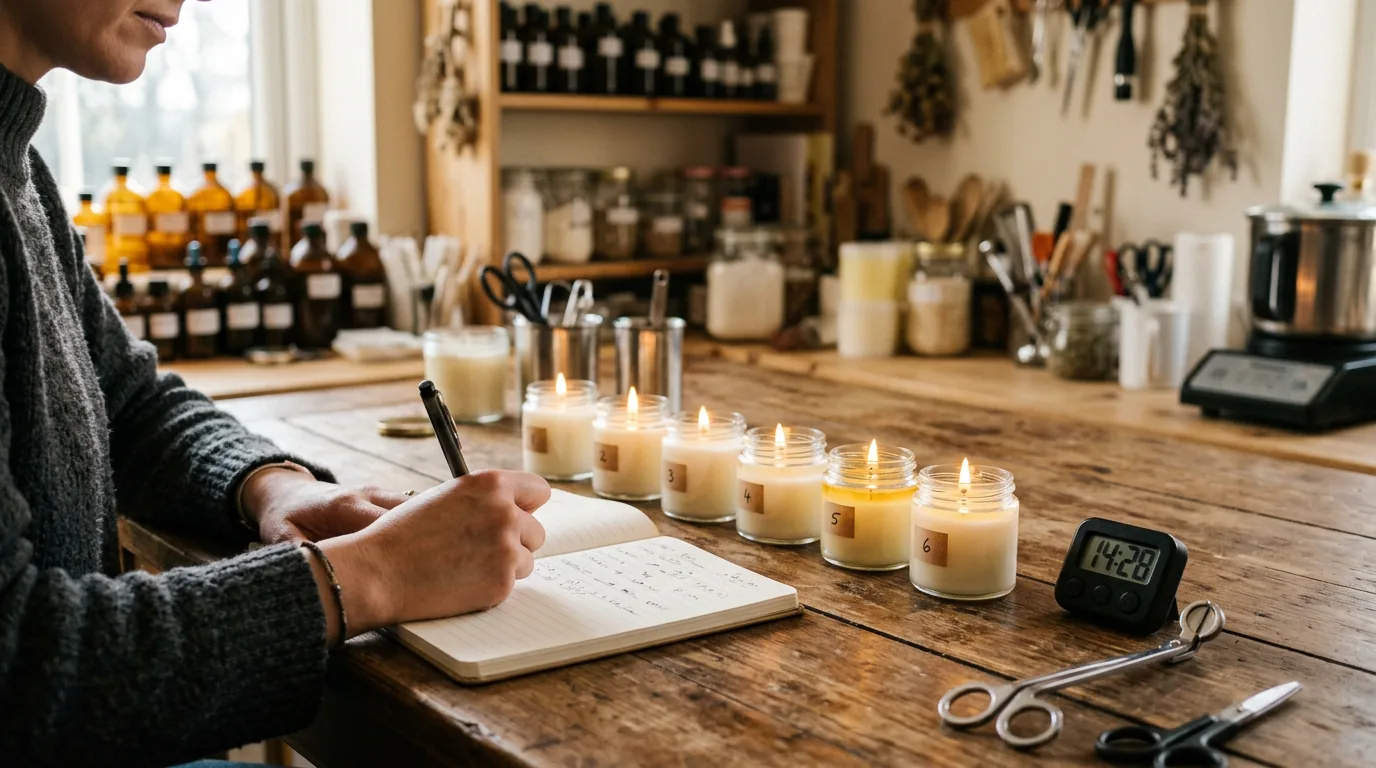
It is precisely testing that distinguishes random home crafting from a thoughtful hobby. And if you ever consider gifting candles or even selling on a small scale, the burn test should be an absolute given.
Why one lighting is not enough
A common misconception is that it’s enough to light the candle once, watch how it burns for the first hour, and that’s that. But a candle’s behaviour changes over time. In the first third it tends to differ from the middle and from the end. The wick may behave differently in subsequent cycles, the wax may melt faster, and the vessel may heat up differently.
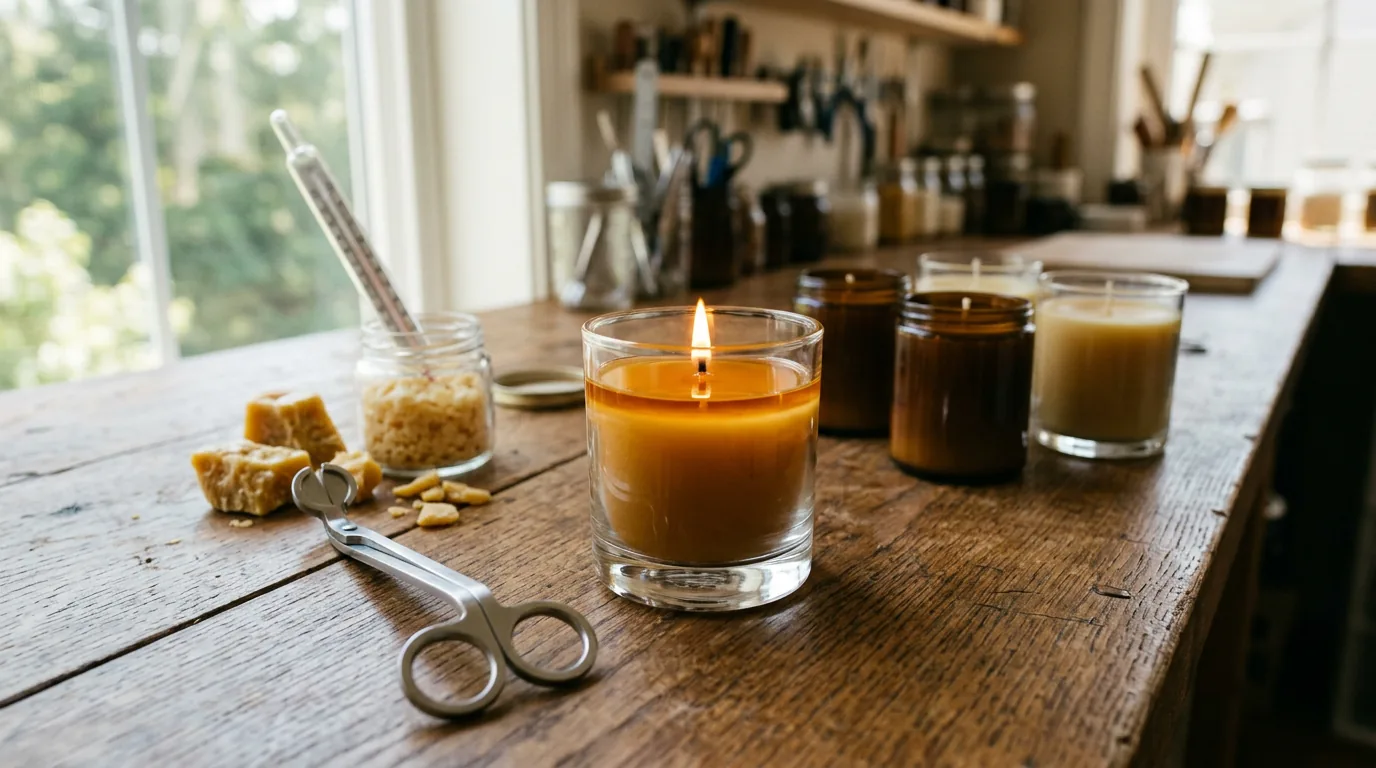
That’s why it’s worth testing the candle repeatedly and tracking its progression. Only that way will you get a realistic picture of how it will perform during normal use at home.
When to carry out a burn test
Don’t test the candle right after making it. Especially with soy and other natural waxes, it’s advisable to give it time to cure. During this period, the fragrance bonds better with the wax and the results tend to be more accurate. If you test too early, you may draw a false conclusion that the hot throw is weak or that the candle behaves differently from how it would after several days.
Generally, it pays to:
- Let the candle rest for at least a few days.
- With soy candles, ideally wait around 7 to 14 days depending on the recipe and the aim of the test.
- Always test only after complete setting and stabilisation.
It may sound time-consuming, but patience is often one of the biggest differences between an average and a truly excellent candle.
How to prepare for a test
A burn test is most productive when you approach it in an organised way. Prepare:
- A notebook or spreadsheet.
- Information about the wax used.
- The type and size of wick.
- The fragrance name and percentage.
- Vessel dimensions.
- Production date and test date.
Also set aside a calm environment where you can check on the candle at intervals. You don’t need to sit and stare at it for four hours straight, but it’s good to check regularly and make notes.
What to observe during the test
During a burn test, focus mainly on several key things:
- How large and stable the flame is.
- How quickly the melt pool forms.
- Whether the wax melts almost to the vessel’s edges.
- Whether the candle smokes or produces soot.
- How strong the scent is when lit.
- How the glass or vessel heats up.
- Whether the wick forms an excessively large carbon tip.
It’s the combination of these signals that tells you the most. A single detail on its own may not indicate a problem, but when several come together, that’s another matter.
How long to let the candle burn during a test
In one test cycle, it usually pays to let the candle burn for approximately 2 to 4 hours, depending on vessel size. The aim is to give the candle enough time to show how it will behave during normal use. Too short a burn won’t tell you much; too long may exceed the recommended usage guidelines.
It’s important to watch not just the end state but the progression. It may happen that everything looks perfect in the first hour, but around the third hour the flame becomes too high. And it’s precisely moments like these that are very valuable for fine-tuning.
What a well-tuned candle looks like
A well-tuned candle typically shows several pleasant signs during a test. The flame is calm and moderate. It doesn’t go out, but it doesn’t flare unnecessarily high either. The wax gradually melts evenly and after a certain time reaches almost to the vessel’s edges. The glass isn’t overheated and no noticeable soot forms. The scent while burning is present but doesn’t feel heavy or unpleasant.
That doesn’t mean every candle must be absolutely perfect from the first test. It’s more about recognising the direction you want to move towards.
What signals a problem
During a burn test, pay extra attention when:
- The flame stays too small and the wax melts only in the centre.
- The wax doesn’t reach the vessel edges even after a long time.
- The wick smokes or produces soot.
- The vessel feels too hot to the touch.
- The scent is barely noticeable when burning.
- The wick forms a large black “mushroom” at the tip.
- The flame is too high and aggressive.
These signs usually indicate that the wick size, fragrance load, or the particular combination of wax and vessel needs adjusting.
Recording is half the success
A burn test is most valuable when you take away concrete data from it. You don’t need to create complex tables like a laboratory, but simple notes make an enormous difference. Write down, for example:
- Time of lighting.
- State after 1 hour.
- State after 2 hours.
- State after 3 or 4 hours.
- Flame size.
- Melt pool width.
- Fragrance intensity.
- Any soot or overheating.
When you have several tests side by side, you’ll start seeing connections very quickly. Suddenly you’ll notice that a certain fragrance needs a stronger wick or that a particular vessel heats up faster than another.
Test only one change at a time
This is one of the most important rules. If the first test reveals a problem, don’t change everything at once. Don’t simultaneously use a different wick, different fragrance, different pouring temperature, and different vessel. When you alter too many variables at once, it won’t be clear what actually changed the result.
It’s much smarter to change just one thing and repeat the test. That’s how you learn the most and reach a truly reliable recipe.
The burn test as a path to confidence
At first glance, a burn test may seem technical, but in reality it’s very liberating. Instead of guesswork and uncertainty, you get answers. You stop wondering why one candle works brilliantly and another doesn’t. You see it right in front of you.
And perhaps that’s its greatest value. It’s not just about control. It’s about greater confidence, joy in creating, and the feeling that you truly understand your candles.